How I Design My Greeting Cards Using Creative Fabrica and Canva: A Step-by-Step Guide
Creating beautiful, unique, and printable greeting cards is a passion of mine—and at Classy Digi Boutique, I use a combination of Creative Fabrica and Canva to bring each card to life. Whether you're a fellow designer or just curious about how I work, here’s a behind-the-scenes look at my creative process and how you can do it too!
Why I Use Creative Fabrica + Canva
Creative Fabrica offers an amazing library of high-quality graphics, fonts, illustrations, and design elements—many of which are commercial-use friendly. Canva, on the other hand, is my go-to design platform for combining those assets into polished, ready-to-print greeting cards. Together, they make designing both fun and efficient.
Step-by-Step: How I Design My Greeting Cards
1. Start with Inspiration or a Theme
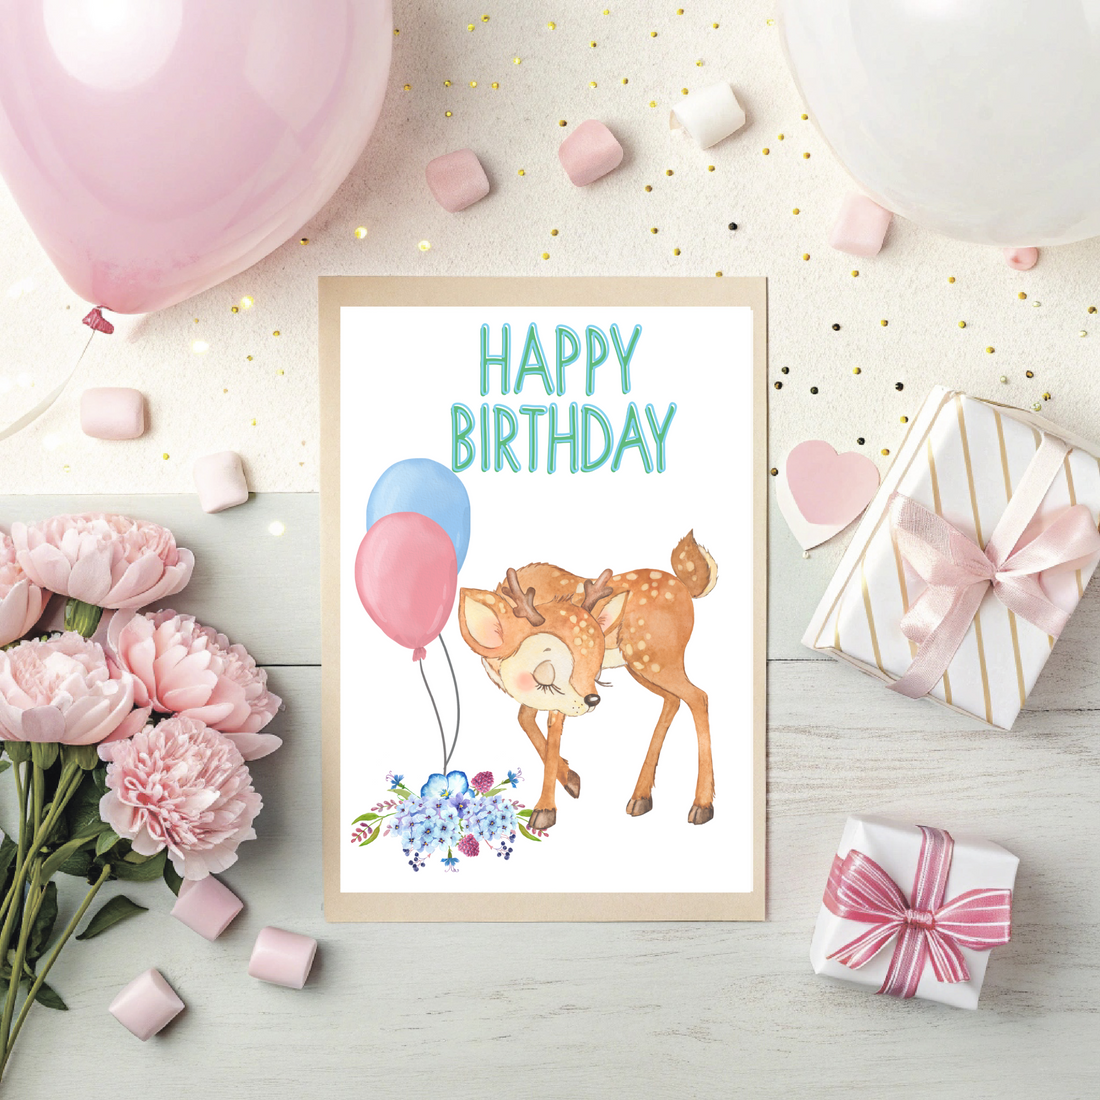
Every design starts with a concept. I often choose a theme like “forest animals,” “sports birthday,” or “pink and gold elegance.” This helps me focus my graphic search and layout choices.
2. Search Creative Fabrica for Design Assets
Once I have a theme in mind, I head to Creative Fabrica to find:
-
Illustrations or clip art (e.g., animals, balloons, cakes)
-
Background patterns (e.g., confetti, polka dots)
-
Fun or elegant fonts to match the mood
📝 Tip: Always check the commercial license and download only high-resolution PNGs or SVGs for best quality.
3. Download & Organize Assets
I save all the elements I plan to use in a labeled folder on my computer for easy access while designing. This helps me stay organized, especially when creating multiple cards in a collection.
4. Open Canva & Set Up Canvas Size
Next, I open Canva and create a new design. For printable greeting cards, I typically use:
-
Canvas size: 8.5” x 11”
-
Layout: Landscape or portrait depending on the design
-
I split the page visually or with a guide to account for folding (to create a 5”x7” card when cut and folded)
5. Upload Assets into Canva
I upload all the downloaded elements from Creative Fabrica into Canva. From there, I begin arranging the layout—placing the main illustration, adding a background, and inserting any decorative elements.
6. Add Text & Customize Fonts
Using Canva’s text tools or fonts from Creative Fabrica, I add a warm, playful, or elegant birthday message to the front (and sometimes the inside) of the card. Canva allows full control of font size, spacing, alignment, and color for a polished finish.
7. Review & Adjust for Print Clarity
Before exporting, I double-check alignment, white space, and image resolution. It’s important everything looks crisp and centered.
🖨️ Pro Tip: Canva allows you to download in high-resolution PDF format with crop marks or bleed settings if needed.
8. Download the Final Design
I export the design as a high-resolution PDF (for printing) and sometimes also as a JPEG (for listing previews or digital use). I test-print at home to confirm the layout folds and trims correctly.
Bonus: Reuse & Repurpose!
Once a design is complete, I can reuse certain layouts or elements for future cards. Canva’s folder and duplication features make it easy to create variations or themed collections quickly.
Final Thoughts
Using Creative Fabrica and Canva together gives me the flexibility to design cards that are stylish, fun, and professional—without needing advanced graphic design software. It’s a powerful combo for anyone who wants to create printable greeting cards for personal or commercial use.
If you’re interested in trying it out yourself, both platforms offer free versions and affordable subscriptions to get started. Happy designing!
